Fulfilling Client Attribute Requirements via Entitlements in SailPoint IdentityNow
In many integration projects, clients request specific attribute values to be provisioned based on a user’s Job Title or Role. When such conditions arise—especially for 3 or more attributes—the cleanest and most scalable approach is to handle these via Entitlements in SailPoint IdentityNow.
Why Use Entitlements?
Instead of hardcoding logic for each attribute in provisioning rules, you can:
- Convert the attribute into an entitlement
- Aggregate accounts to retrieve all possible values of that attribute
- Assign entitlements via Access Profiles based on role/title mapping provided by the client
- The provisioning engine will automatically push the correct attribute value via entitlement assignment
This approach is particularly effective when dealing with Direct Connectors, where operations are straightforward and built-in.
Handling This in Web Service (SaaS) Connectors
With Web Service connectors, the process is a bit more involved. Here’s a step-by-step approach:
Step 1: Create Group Object for the Attribute
Use the Create Group API in your connector definition to generate a group object for the desired attribute.

This automatically creates the following operations in your connector:
- Add Entitlement – [AttributeName]
- Remove Entitlement – [AttributeName]
- Get Object – [AttributeName]
- Group Aggregation – [AttributeName]
Step 2: Configure HTTP Operation for Entitlement Assignment
In your HTTP Operation for “Add Entitlement – AttributeName”, define the body as:
"AttributeNameOnTarget": "$plan.attributeNameOnIDNAccount$"
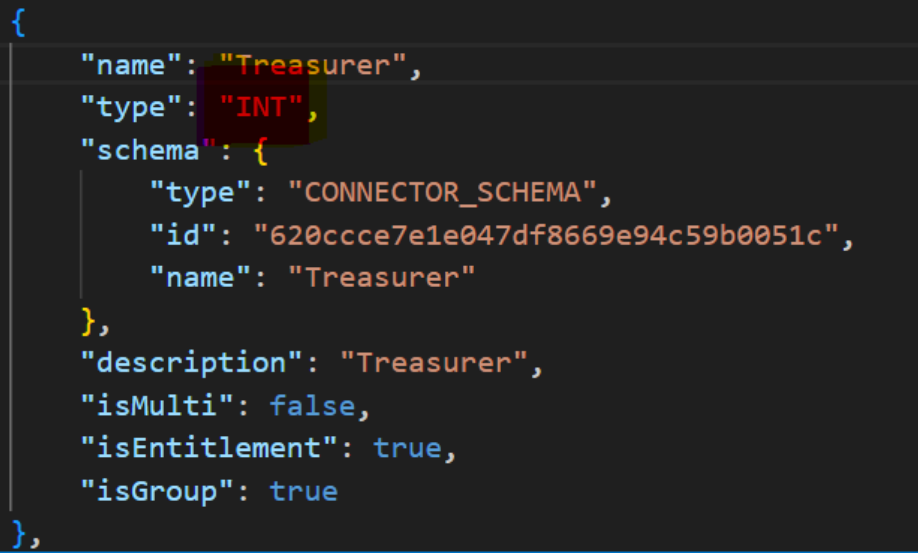
Handling Integer Attribute Values
Sometimes, attributes such as flags (1 or 0) are stored as integers on the target, but SailPoint treats them as strings during group creation. To correct this:
Fix Data Type in VS Code:
- Open VS Code.
- Navigate to:
source → your-source-name → schemas → account
- Find the Entitlement object created.
- Change:
"type": "STRING"
to:
"type": "INT"
Step 3: Update HTTP Operation Body Format
After changing the data type:
- Ensure the value is not wrapped in quotes in your HTTP body.
- Correct format:
"AttributeNameOnTarget": $plan.attributeNameOnIDNAccount$
Don’t use double quotes around integer values; it will break the integration for INT fields.
Example:

Outcome
Once configured:
- The entitlements corresponding to attribute values are created and available in IdentityNow.
- Access Profiles can assign the correct entitlement based on job role/title.
- Provisioning will deliver the correct attribute value automatically via the entitlement mechanism.
This method is clean, reusable, and ideal for managing dynamic attribute-based provisioning across multiple users and roles.