Getting Started
Read this guide to learn about the UI Development Kit and how to use it. Once you have read this guide, you will be able to do the following:
- Create a new environment
- Enable shared components from the component selector
- Create a new component
Video Tutorial
Create a new environment
The UI Development Kit uses the existing environment configuration from the SailPoint CLI. You MUST re-enter your client ID and secret as they are not shared between projects.
To create a brand new environment, select the "Create new environment" option in the dropdown menu when you first open the UI Development Kit.
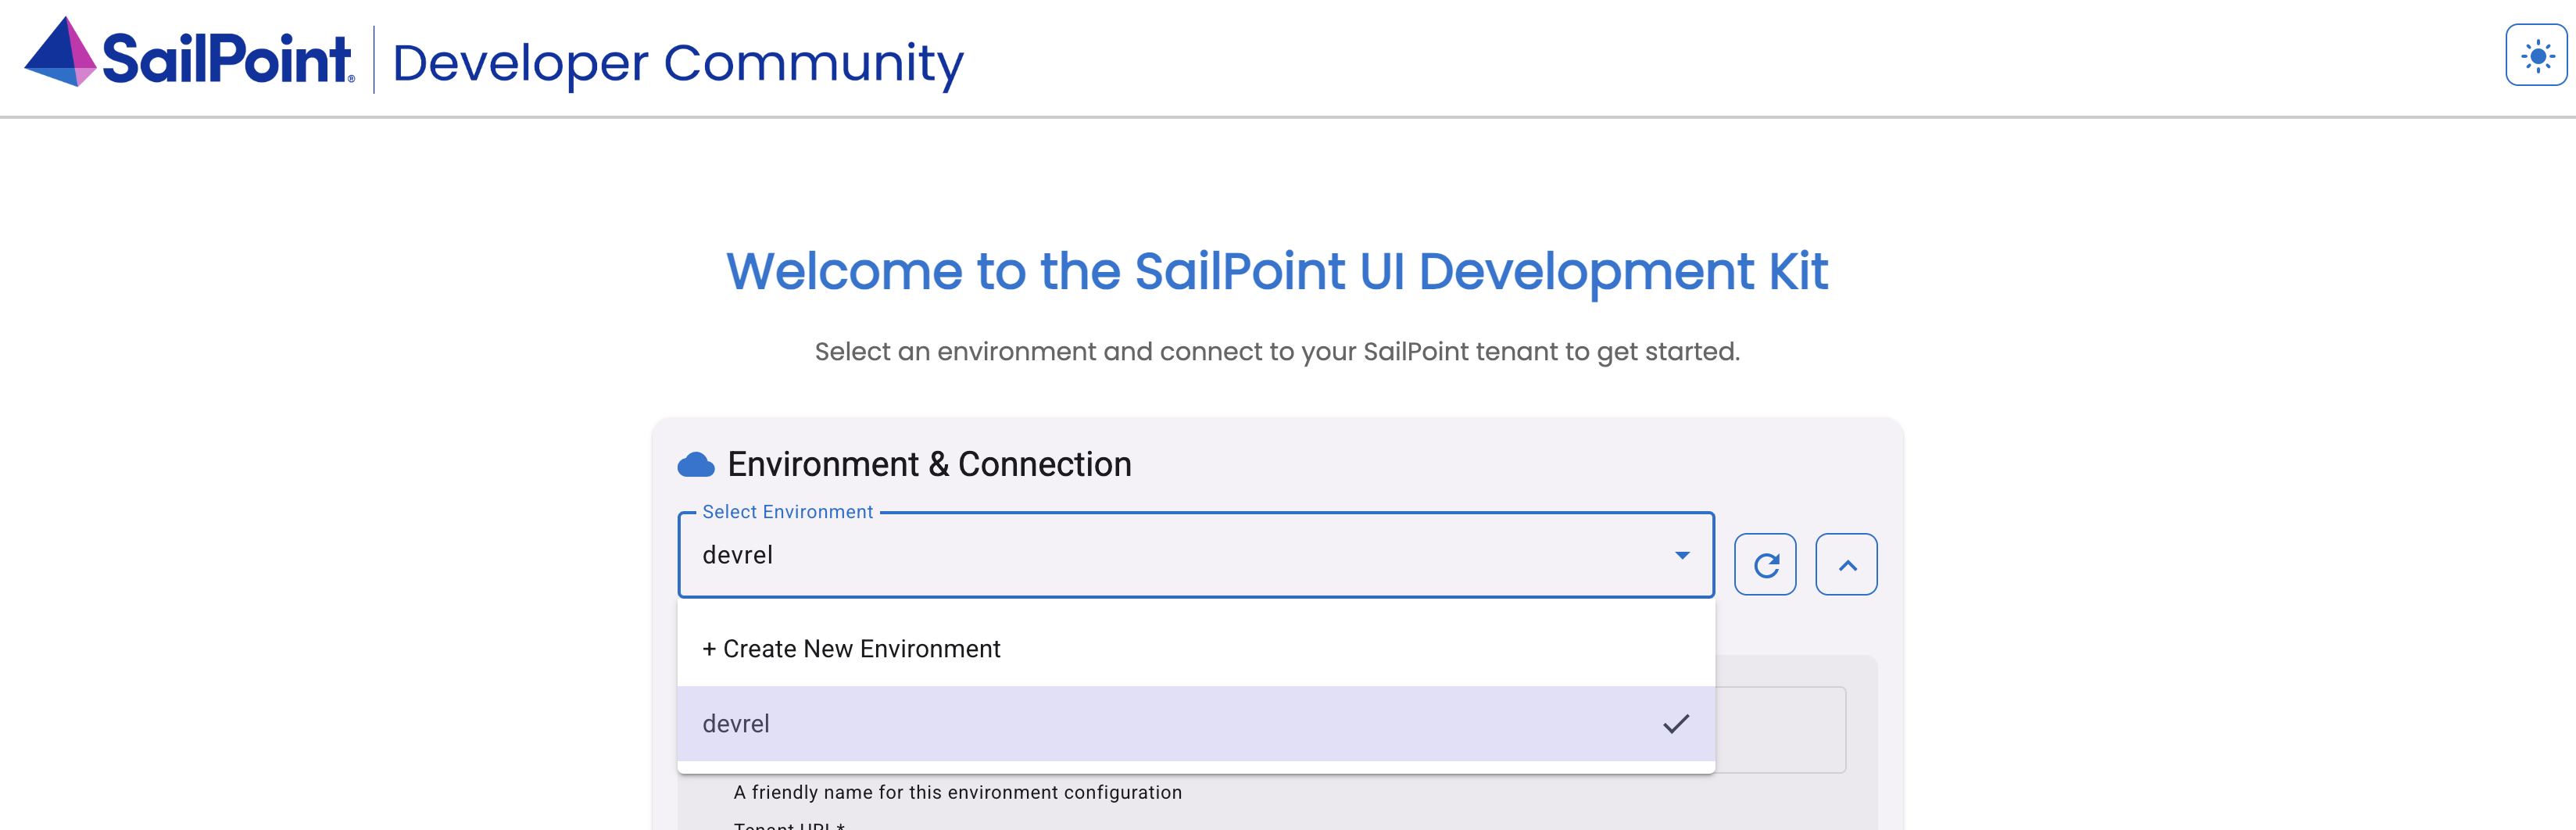
You will be prompted to enter the following information:
- Environment name: The user friendly name of the environment you want to create.
- Tenant name: The name of your Identity Security Cloud tenant. This is used to connect to your ISC instance.
- Tenant URL: The web URL used to access your Identity Security Cloud tenant (ex. https://tenant.identitynow.com). This is used during the OAuth process.
- API URL: The API URL used to access your Identity Security Cloud tenant (ex. https://tenant.api.identitynow.com). This is used for the API calls made by certain commands.
- Authentication method: The authentication method you want to use for this environment. You can choose between OAuth and Personal Access Token (PAT).
- Client ID: The client ID of your PAT. This is used to authenticate your requests to the Identity Security Cloud API.
- Client Secret: The client secret of your PAT. This is used to authenticate your requests to the Identity Security Cloud API.
Enable shared components from the component selector
By default, the UI Development Kit comes with a set of shared components that you can use in your custom UIs. These components are located in the projects/sailpoint-components folder and are built by the SailPoint Developer Relations team as well as other Community members.
To enable these components, start the project and open the component selector. You can do this by clicking on the "Component Selector" tab in the sidebar.
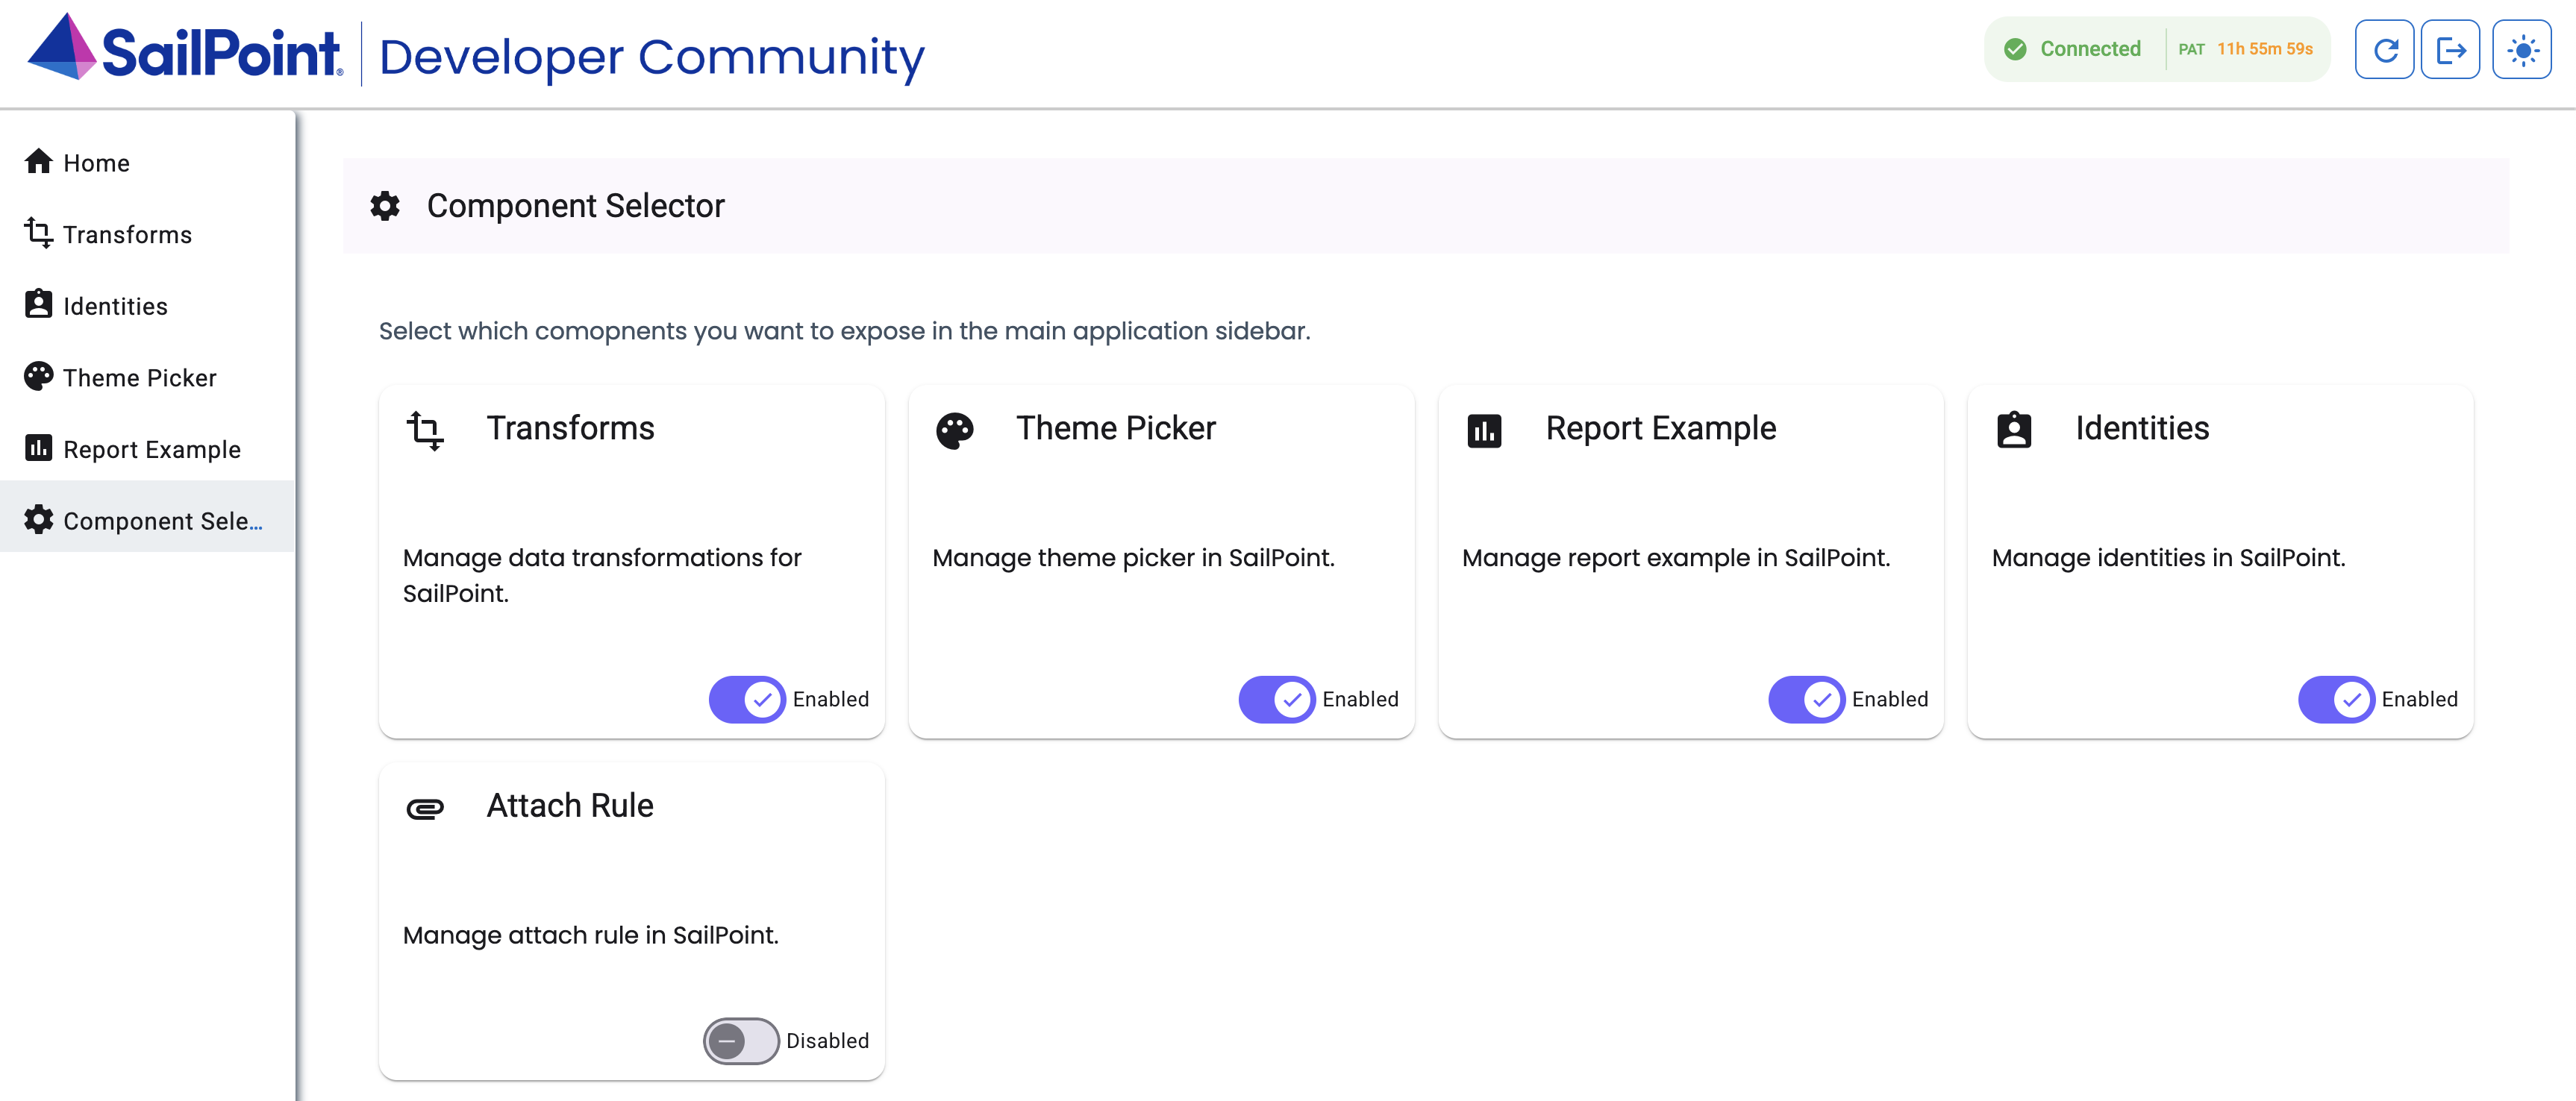
You can toggle the components you want to enable. You will notice that when you enable a component, it will be automatically added to your sidebar.
Create a new component
To create a new component, you can use the npm run generate:component <component-name> command. This will do the following:
- Creates a new folder in the
projects/sailpoint-components/src/libdirectory with the name of your component. - Creates the new component files in the new folder, including the component HTML, TypeScript, and CSS files.
- Updates the component selector to include your new component in the list of available components.
- Updates the
app.routes.tsfile to add a new route for your component. - Updates the
app.component.htmlfile to add a link to your new component in the sidebar. - Updates the
public-api.tsfile to export your new component so that it can be used in other parts of the application.
Discuss
The most valuable resource for ISC developers is the SailPoint Developer Community itself, where ISC users and experts all over the world come together to ask questions and provide solutions.
To learn more about the ISC UI Development Kit and discuss it with SailPoint Developer Community members, go to the SailPoint Developer Community Forum.