Set Up MCP with Visual Studio Code
This guide will walk you through configuring Visual Studio Code to connect with the SailPoint Model Context Protocol (MCP) Server using the mcp.json configuration file.
Before configuring this integration, please confirm with your organization's administrator whether the integration is allowed with this AI provider. SailPoint does not bear any responsibility in this regard.
Prerequisites
- Visual Studio Code installed
- GitHub Copilot extension installed and enabled
- Node.js and npm installed
- Access to a valid SailPoint MCP Server endpoint and an authentication token
Step 1: Enable MCP Support in VS Code
Before configuring the server, make sure MCP support is enabled in your VS Code settings:
- Open the Command Palette (
Cmd+Shift+Pon macOS orCtrl+Shift+Pon Windows/Linux). - Search for and select
Preferences: Open Settings (JSON). - Add the following line to your settings if it is not already present:
"chat.mcp.discovery.enabled": true
This setting allows VS Code to discover and connect to MCP servers defined in your mcp.json file.
Step 2: Create or Update mcp.json
- Open VS Code.
- Open the Command Palette (
Cmd+Shift+Pon macOS orCtrl+Shift+Pon Windows/Linux). - Search for and select
MCP: Open User Configuration. - Add the following configuration to
mcp.json:
The configuration below uses the global MCP URL, which works for all tenants without any tenant-specific changes.
{
  "servers": {
    "SailPoint MCP": {
      "command": "npx",
      "args": [
        "mcp-remote@latest",
        "https://mcp.sailpoint.com/latest/access-requests/mcp",
        "--debug",
        "--header",
        "Authorization: Bearer ${input:AUTH_TOKEN}"
      ]
    }
  },
  "inputs": [
    {
      "type": "promptString",
      "id": "AUTH_TOKEN",
      "description": "Enter your AUTH TOKEN:",
      "password": true
    }
  ]
}
Step 3: Connect to the MCP Server
- Open the Command Palette.
- Search for and select
MCP: Open User Configuration - Select
Startabove the configuration for "SailPoint MCP".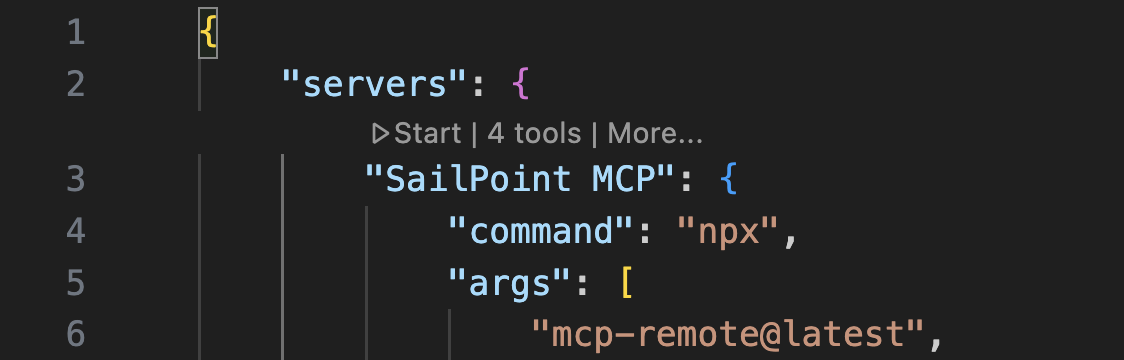
- When prompted, enter your authentication token.
Step 4: Verify the Connection
Once connected, you should be able to interact with the SailPoint MCP Server directly from VS Code.
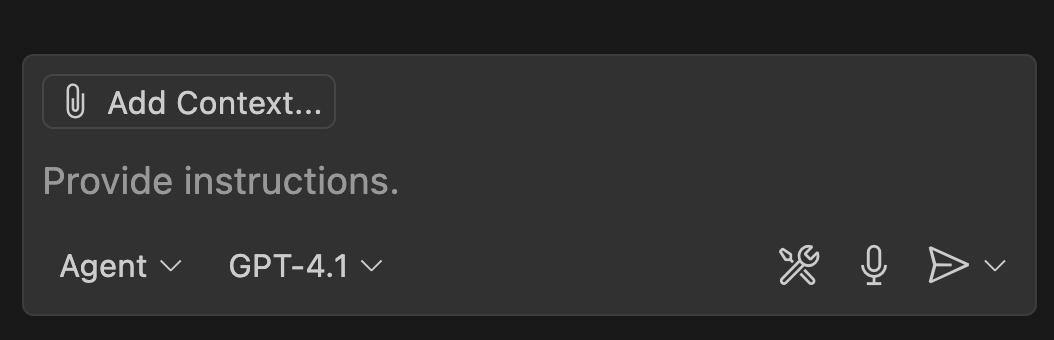
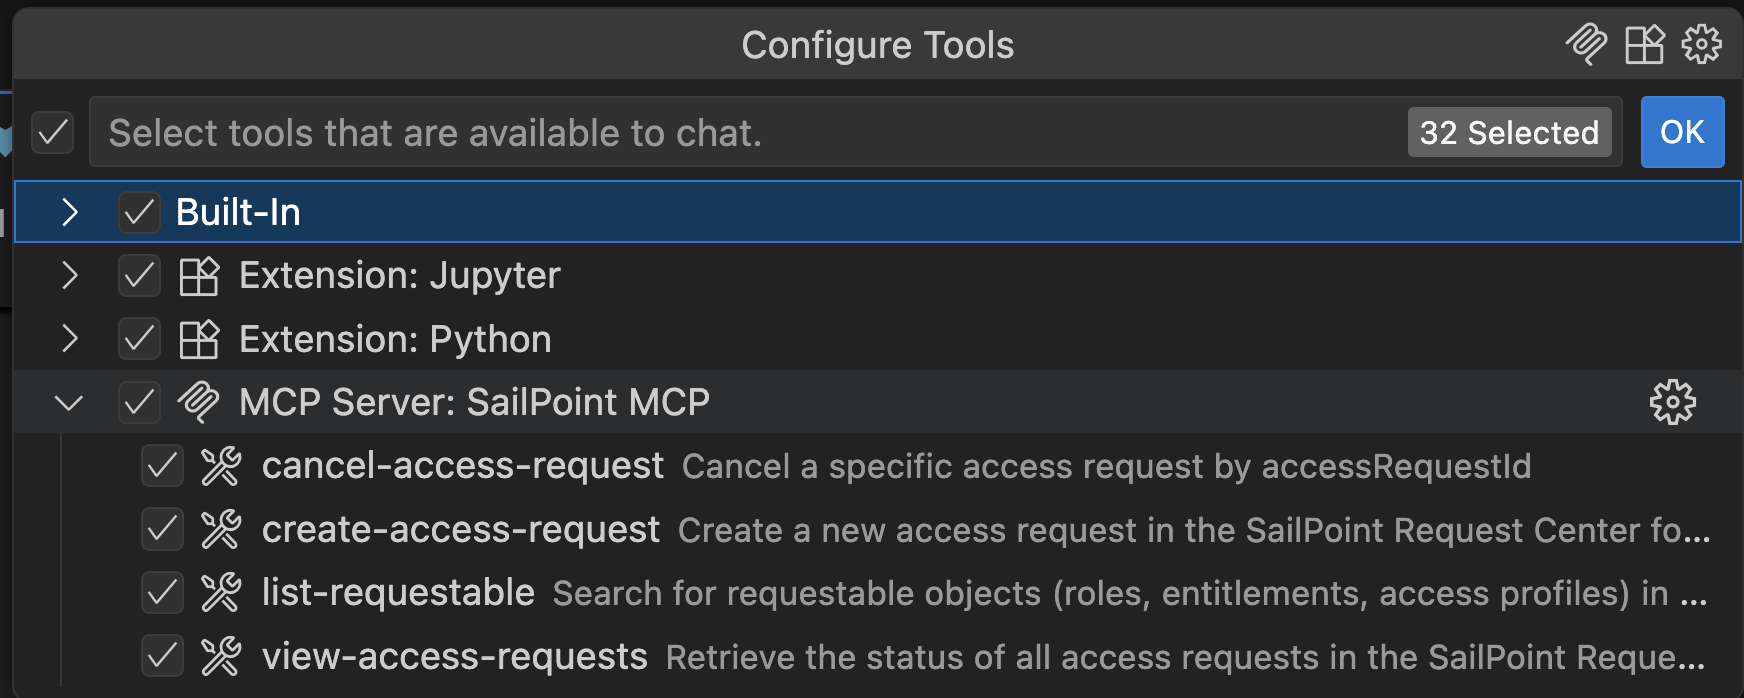
Begin a new VS Code chat and select the Tools icon.
This will bring up the Tools menu. You should see the SailPoint MCP Server and the available tools listed:
Try it out!
You can now ask VS Code things like "What can I request access to?” or “What is the status of my access request?” or “Cancel access request XYZ”
For more information about the tools, refer to the SailPoint MCP tool documentation.