Set Up MCP with Cursor
This guide will walk you through configuring Cursor to connect with the SailPoint Model Context Protocol (MCP) Server using the mcp.json configuration file.
Before configuring this integration, please confirm with your organization's administrator whether the integration is allowed with this AI provider. SailPoint does not bear any responsibility in this regard.
Prerequisites
- Cursor installed
- Node.js and npm installed
- Access to a valid SailPoint MCP Server endpoint and an authentication token
Step 1: Create mcp.json
Cursor allows for deep links into its configuration. By clicking the button below, you will be asked to open the link in Cursor. This will take you to the MCP Server configuration with most of the configuration filled out for you.

Once in Cursor, following the prompt to install the SailPoint MCP server and select install to continue.
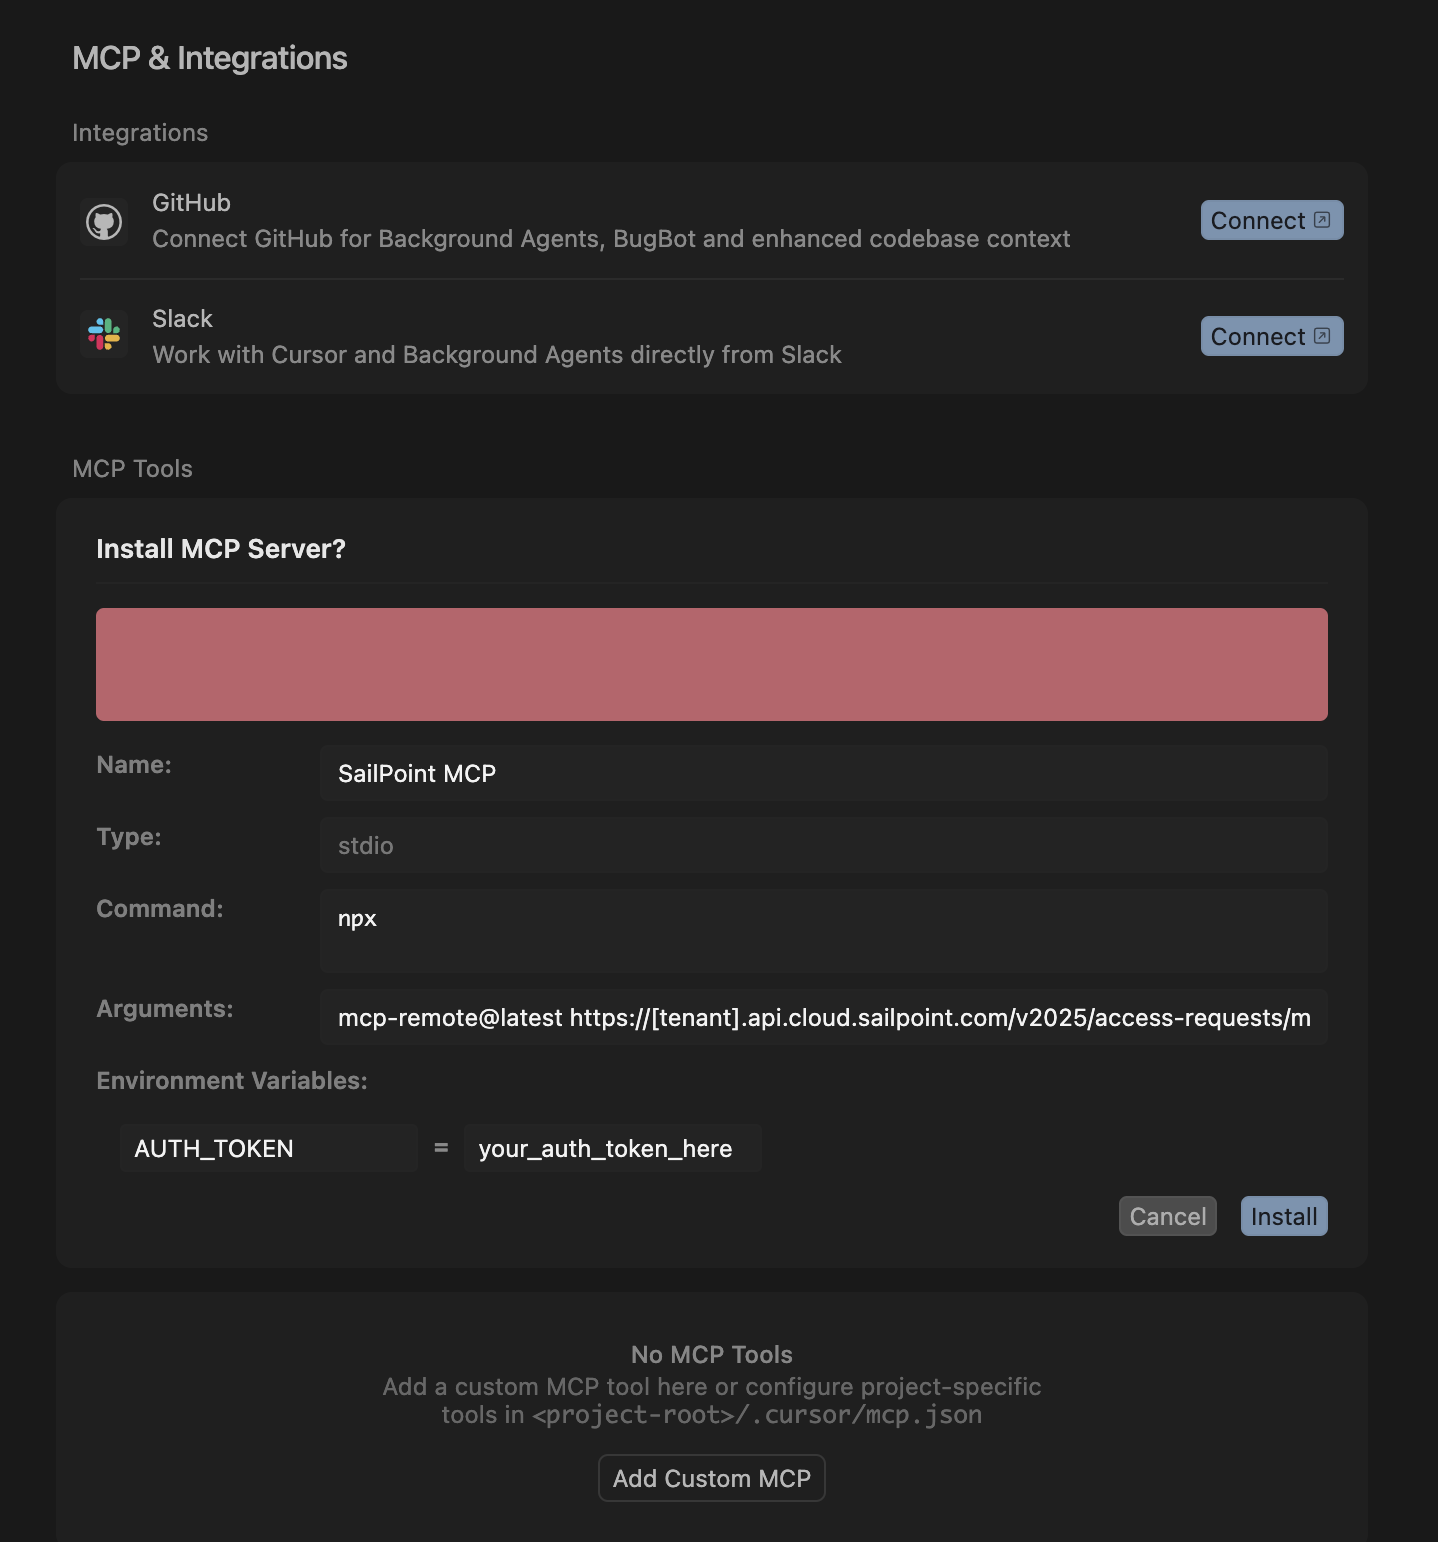
Step 2: Add your authentication token
Click the edit icon next to the newly installed SailPoint MCP server. This will bring up the mcp.json file in the editor.
The configuration uses the global MCP URL (https://mcp.sailpoint.com/latest/access-requests/mcp), which works for all tenants without any tenant-specific changes.
Replace your_auth_token_here with your authorization token.
Save the file.
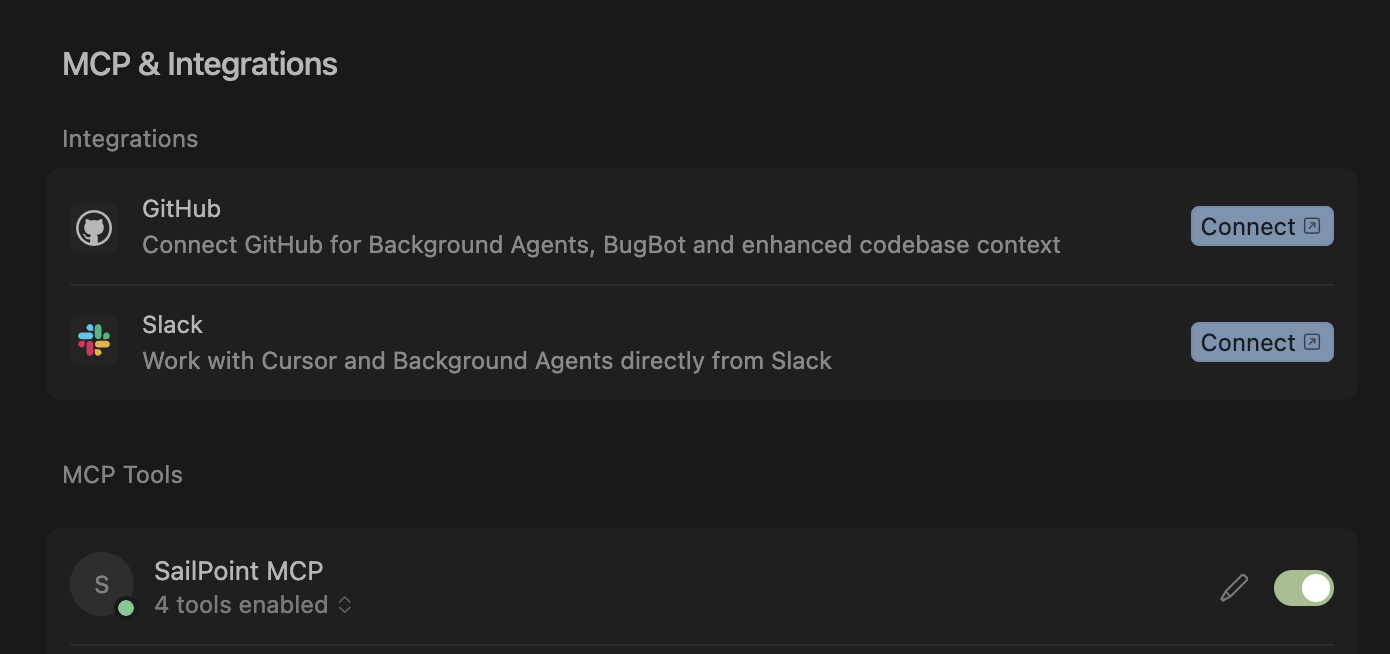
Step 3: Verify the Connection
Go back to the Cursor settings tab.
- Open the Command Palette (
Cmd+Shift+Pon macOS orCtrl+Shift+Pon Windows/Linux). - Search for and select
View: Open MCP Settings.
You will see that Cursor is connected and has four tools available.
Try it out!
You can now ask Cursor questions like "What can I request access to?", "What is the status of my access request?", or "Cancel access request XYZ."
For more information about the tools, refer to the SailPoint MCP tool documentation.