Set Up MCP with Claude Desktop
This guide will walk you through the process of connecting the SailPoint MCP server using Claude Desktop.
Before configuring this integration, please confirm with your organization's administrator whether the integration is allowed with this AI provider. SailPoint does not bear any responsibility in this regard.
Prerequisites
Before you begin, ensure you have the following:
- Claude Desktop installed and configured on your system
- Access credentials for your MCP server
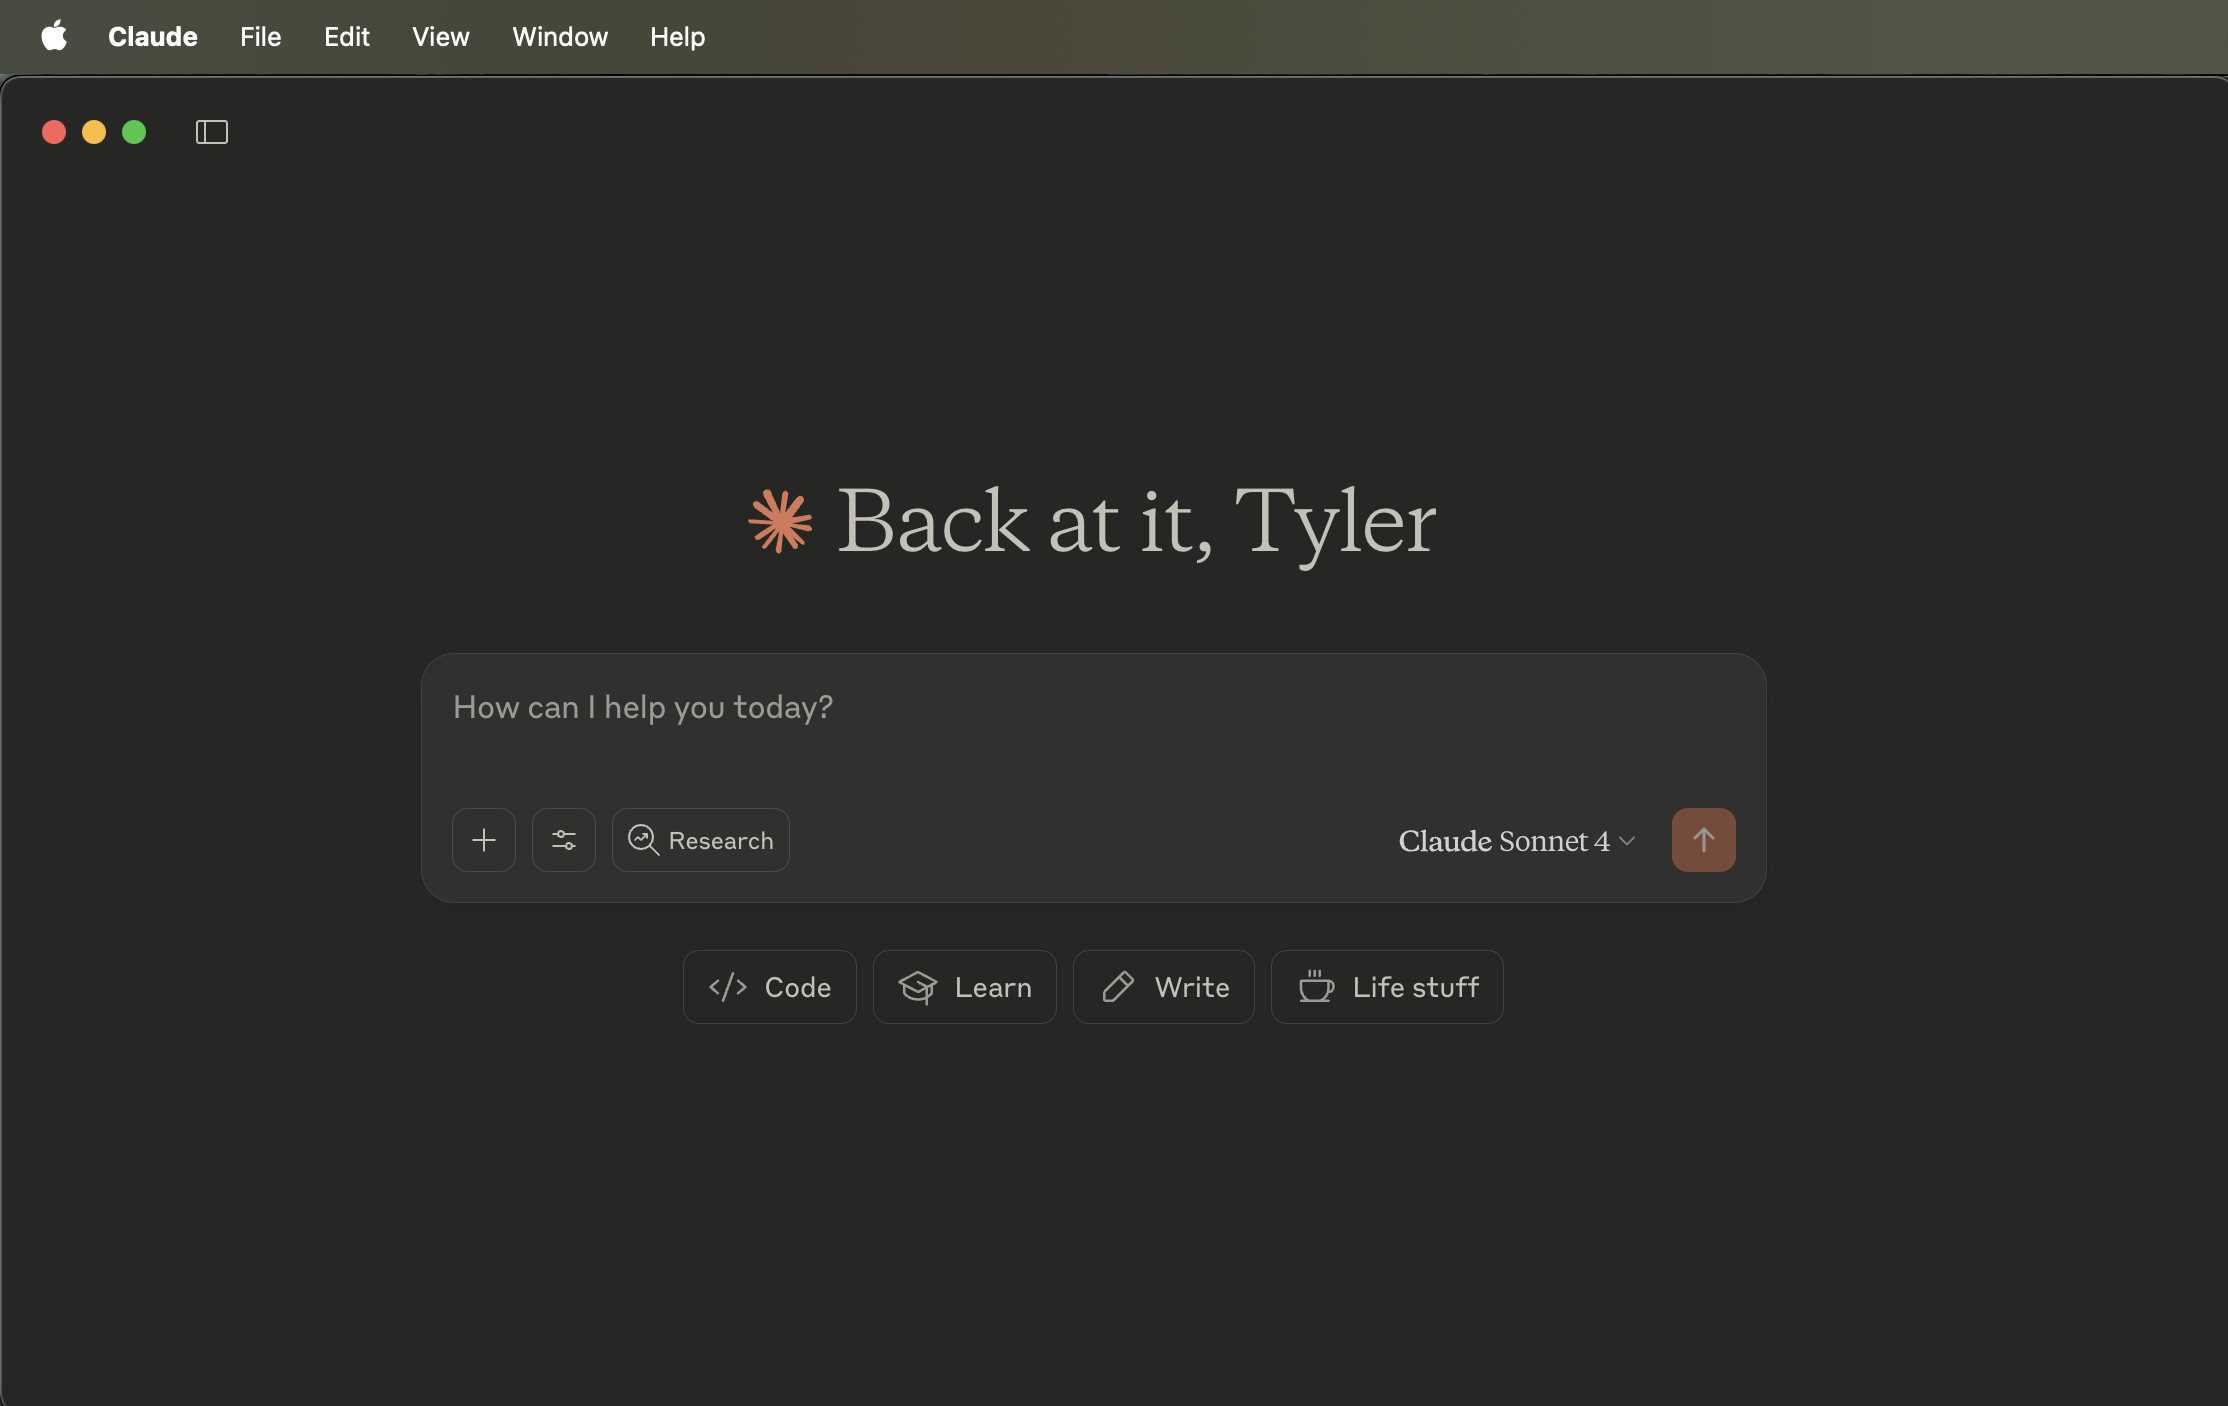
Step 1: Open claude desktop
Open Claude Desktop and complete the normal setup. You will then be presented with the following screen:
Step 2: Open claude desktop developer settings
Select Claude in your menu bar, select Settings
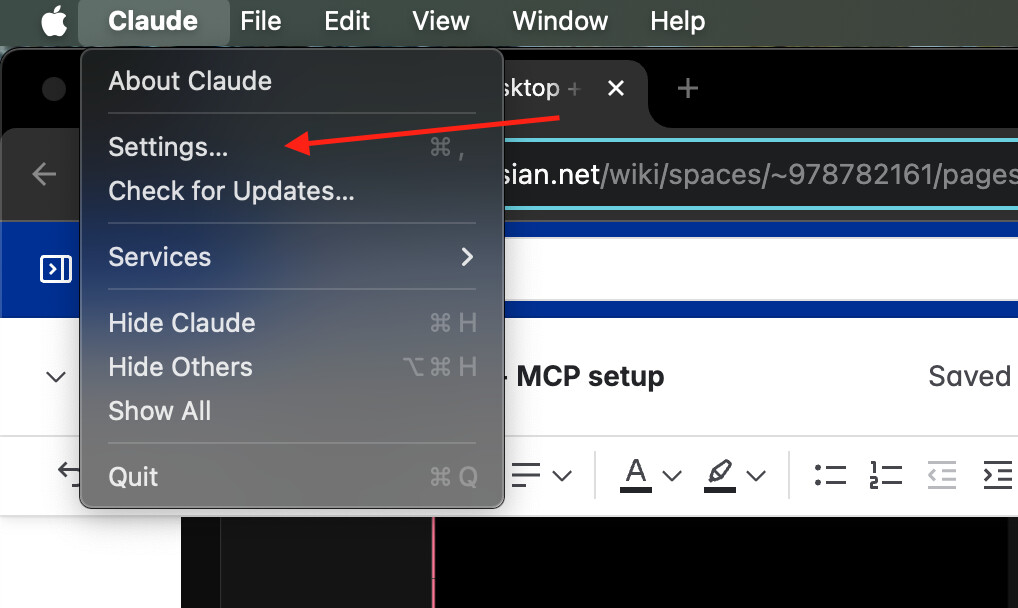
Then select Developer
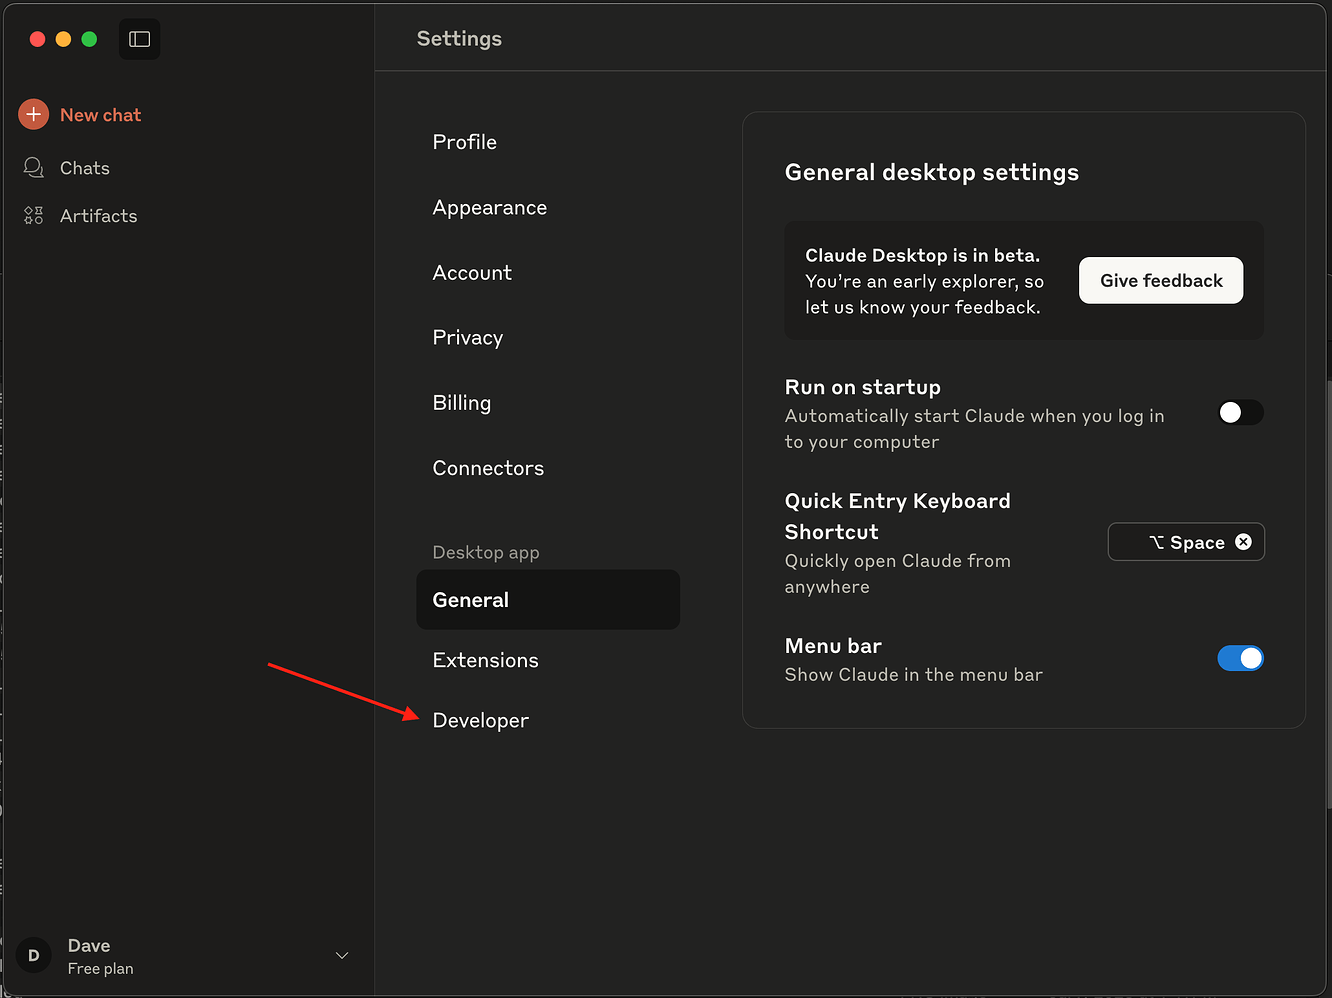
Finally, select edit config
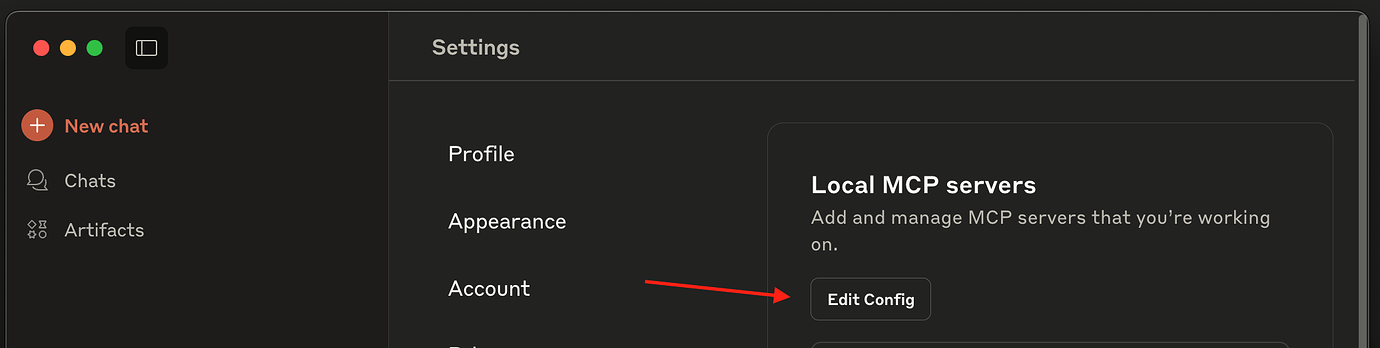
This will take you to the Claude Desktop config file in your filesystem claude_desktop_config.json. Open this file in your preferred editor.
Copy and paste the following snippet.
Replace your_auth_token_here with your authorization token.
The configuration uses the global MCP URL, which works for all tenants without any tenant-specific changes.
{
  "mcpServers": {
    "SailPoint MCP": {
      "command": "npx",
      "args": [
        "mcp-remote@latest",
        "https://mcp.sailpoint.com/latest/access-requests/mcp",
        "--debug",
        "--header",
        "Authorization: Bearer ${AUTH_TOKEN}"
      ],
      "env": {
        "AUTH_TOKEN": "your_auth_token_here"
      }
    }
  }
}
Restart claude and check for MCP tools
-
This is required to pick up the new config
-
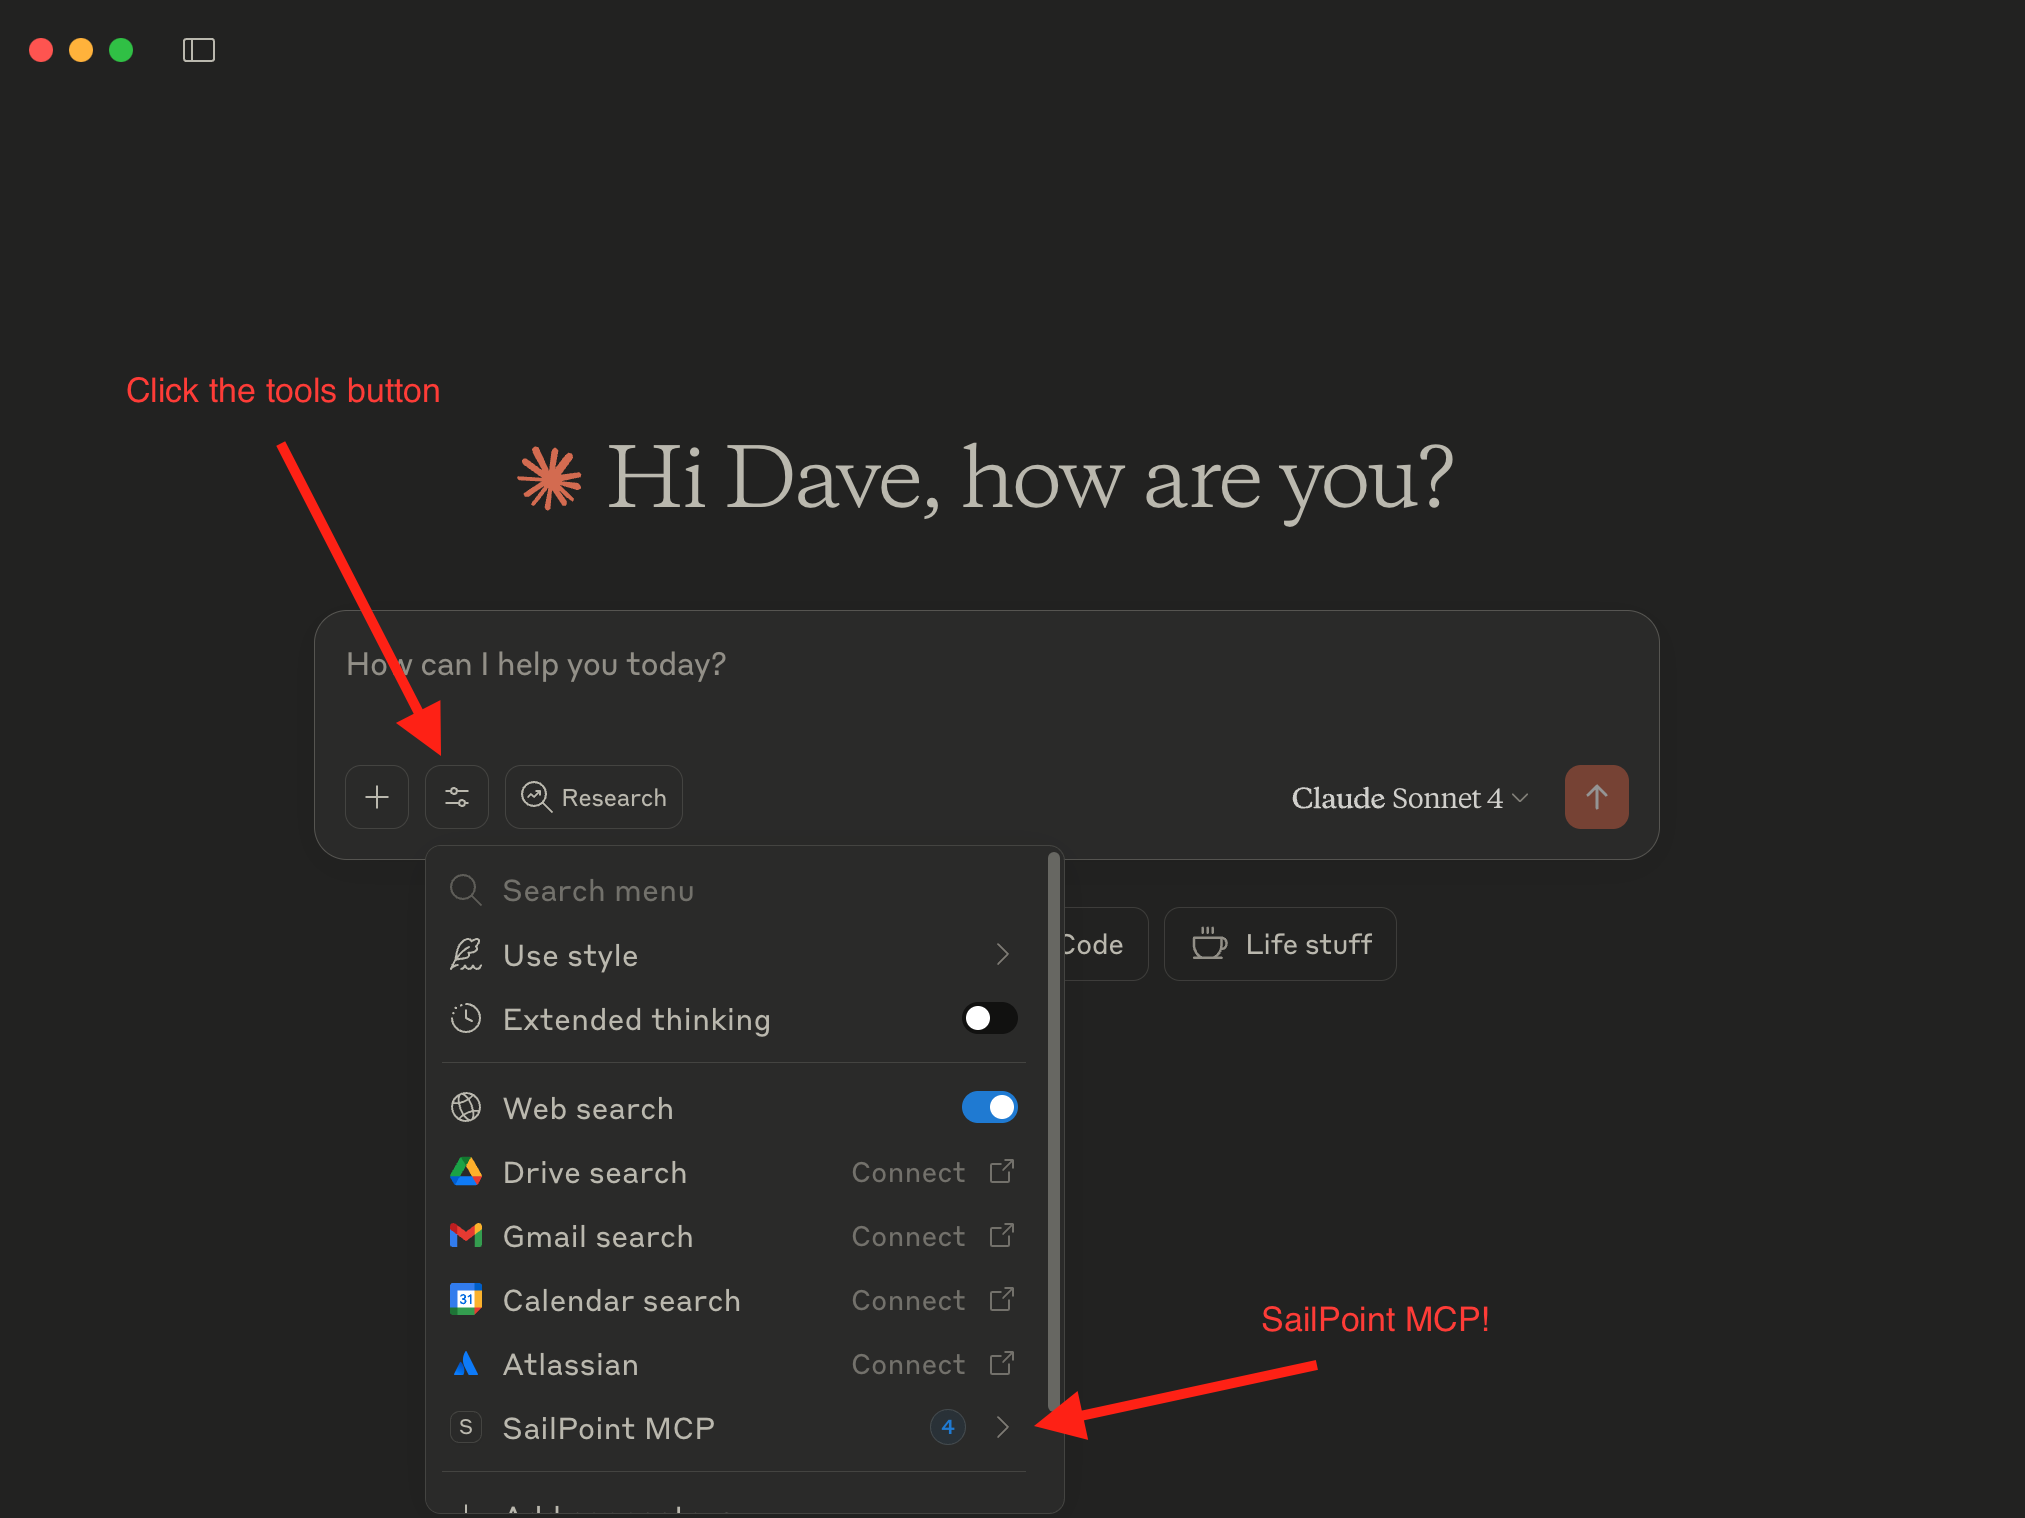
Select the Tools icon at the bottom of the new chat UI. You will see SailPoint MCP among the tools listed:
-
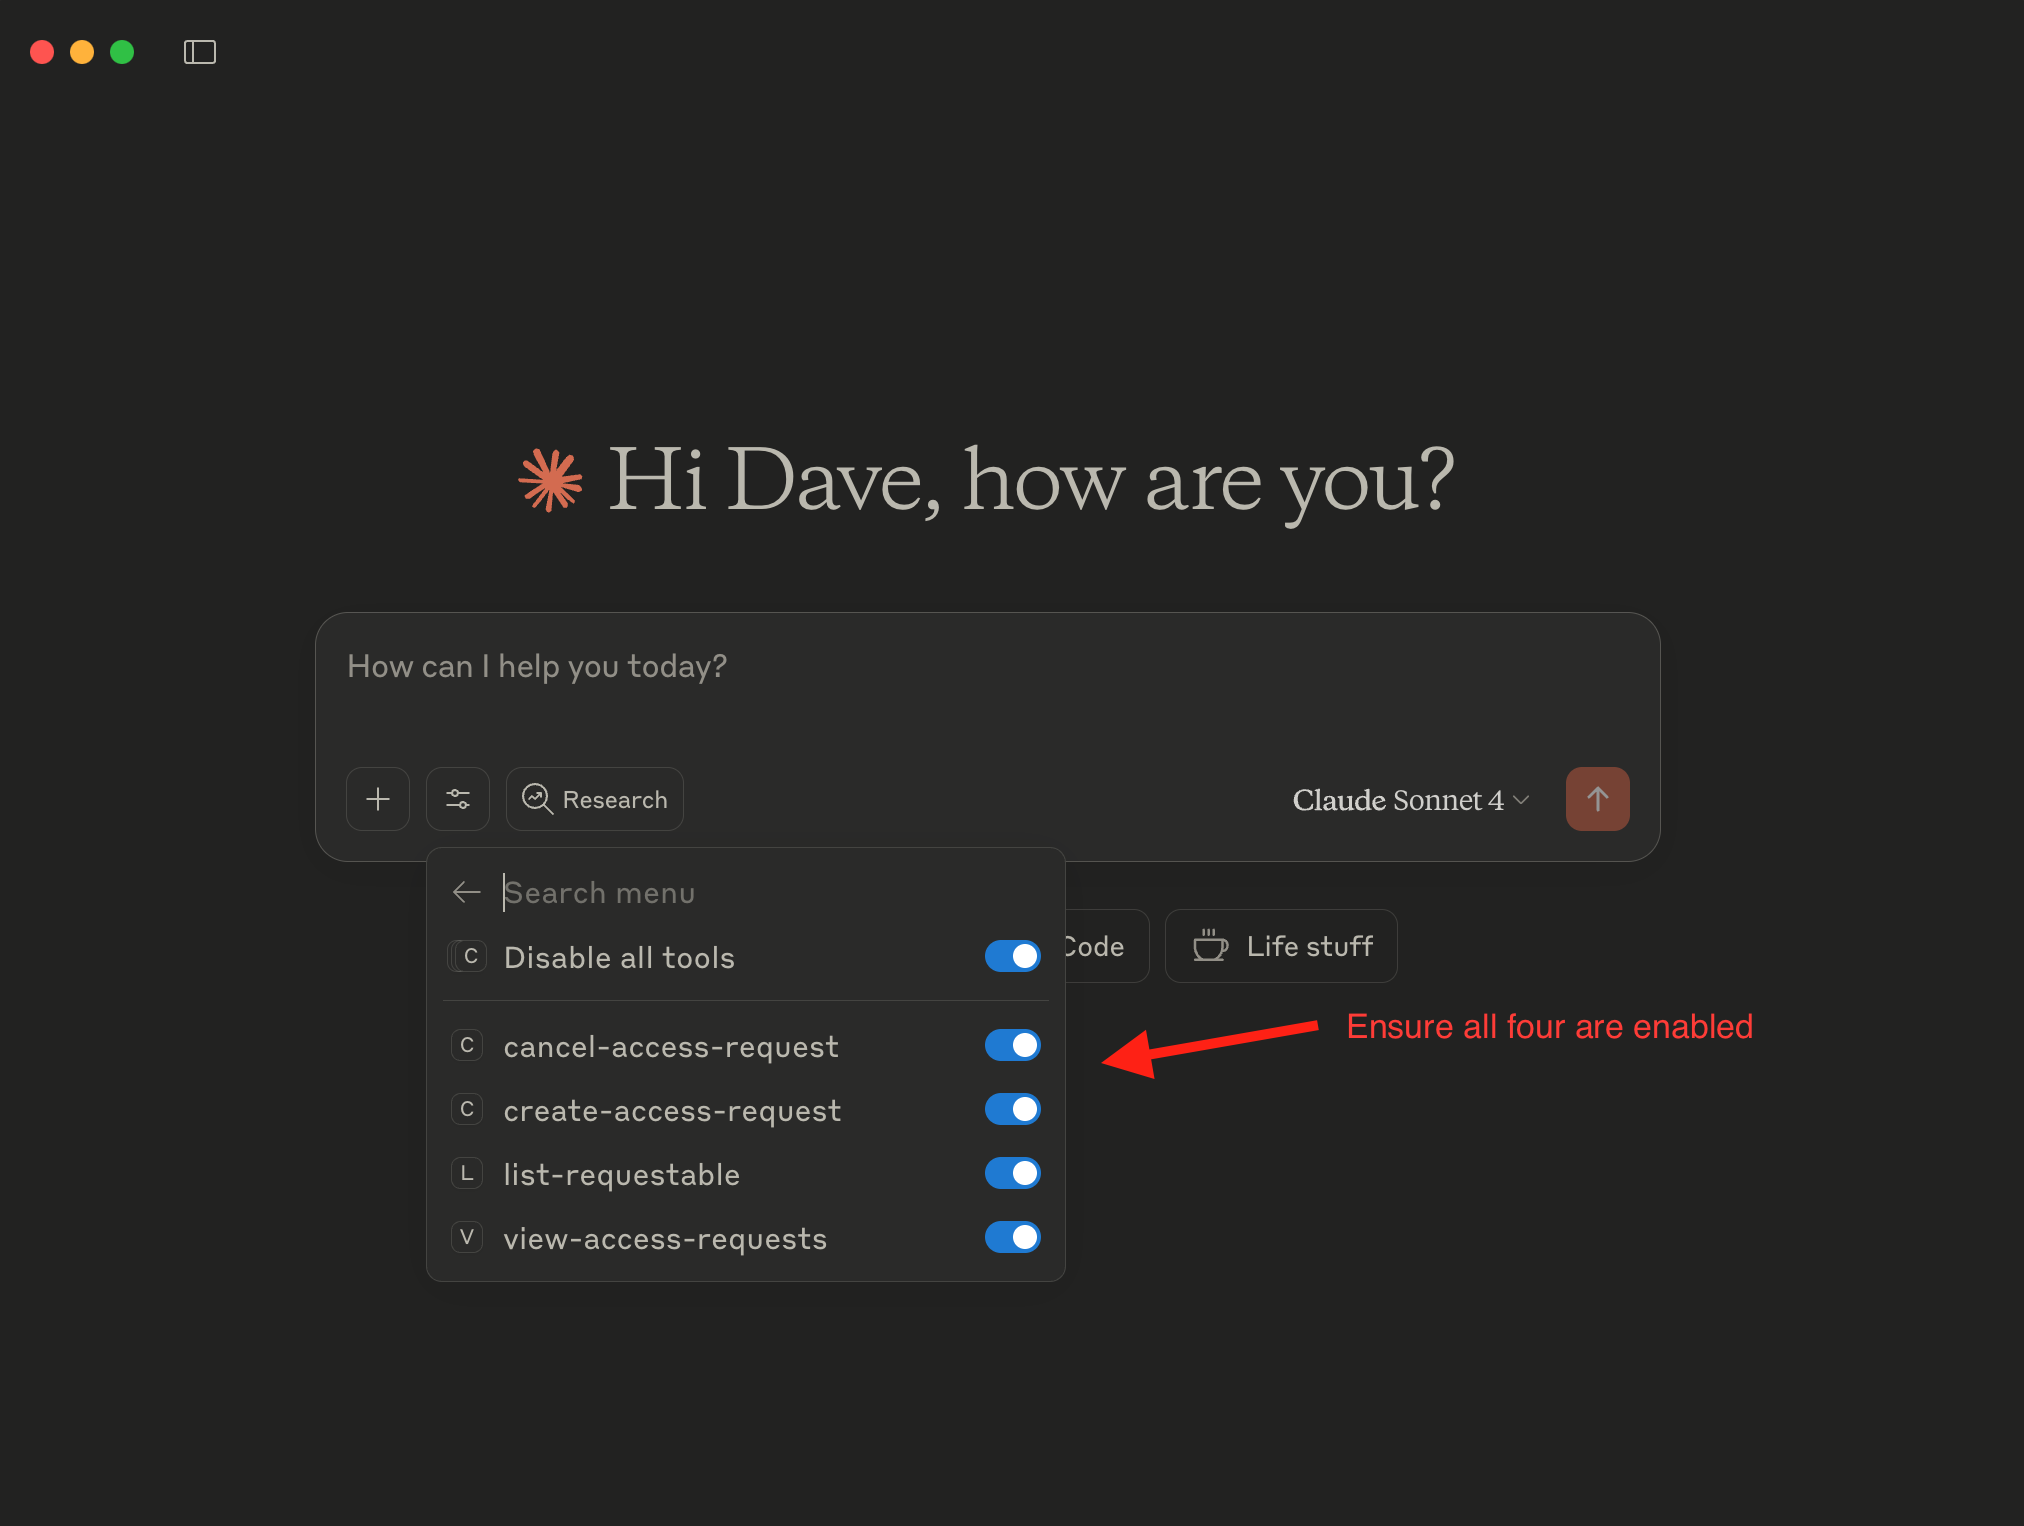
Ensure all four tools are enabled:
Try it out!
You can now ask Claude questions like "What can I request access to?” or “What is the status of my access request?” or “Cancel access request XYZ”
For more information about the tools, refer to the SailPoint MCP tool documentation.